NOTE: Before proceeding with the installation steps, please verify your version of Ableton is supported: System Requirements & Supported Digital Audio Workstations
Step 1:
Launch the Slate Audio Center and sign in with your credentials. If you do not have the Slate Audio Center, get it here:
Slate Audio Center (Mac)
Slate Audio Center (Windows)
Step 2:
Make sure Ableton is closed, as it will need to scan in the newly installed plugin after the installation. Once the plugin has finished downloading, locate in your downloads folder and double-click to unzip and run the installer.
Step 3:
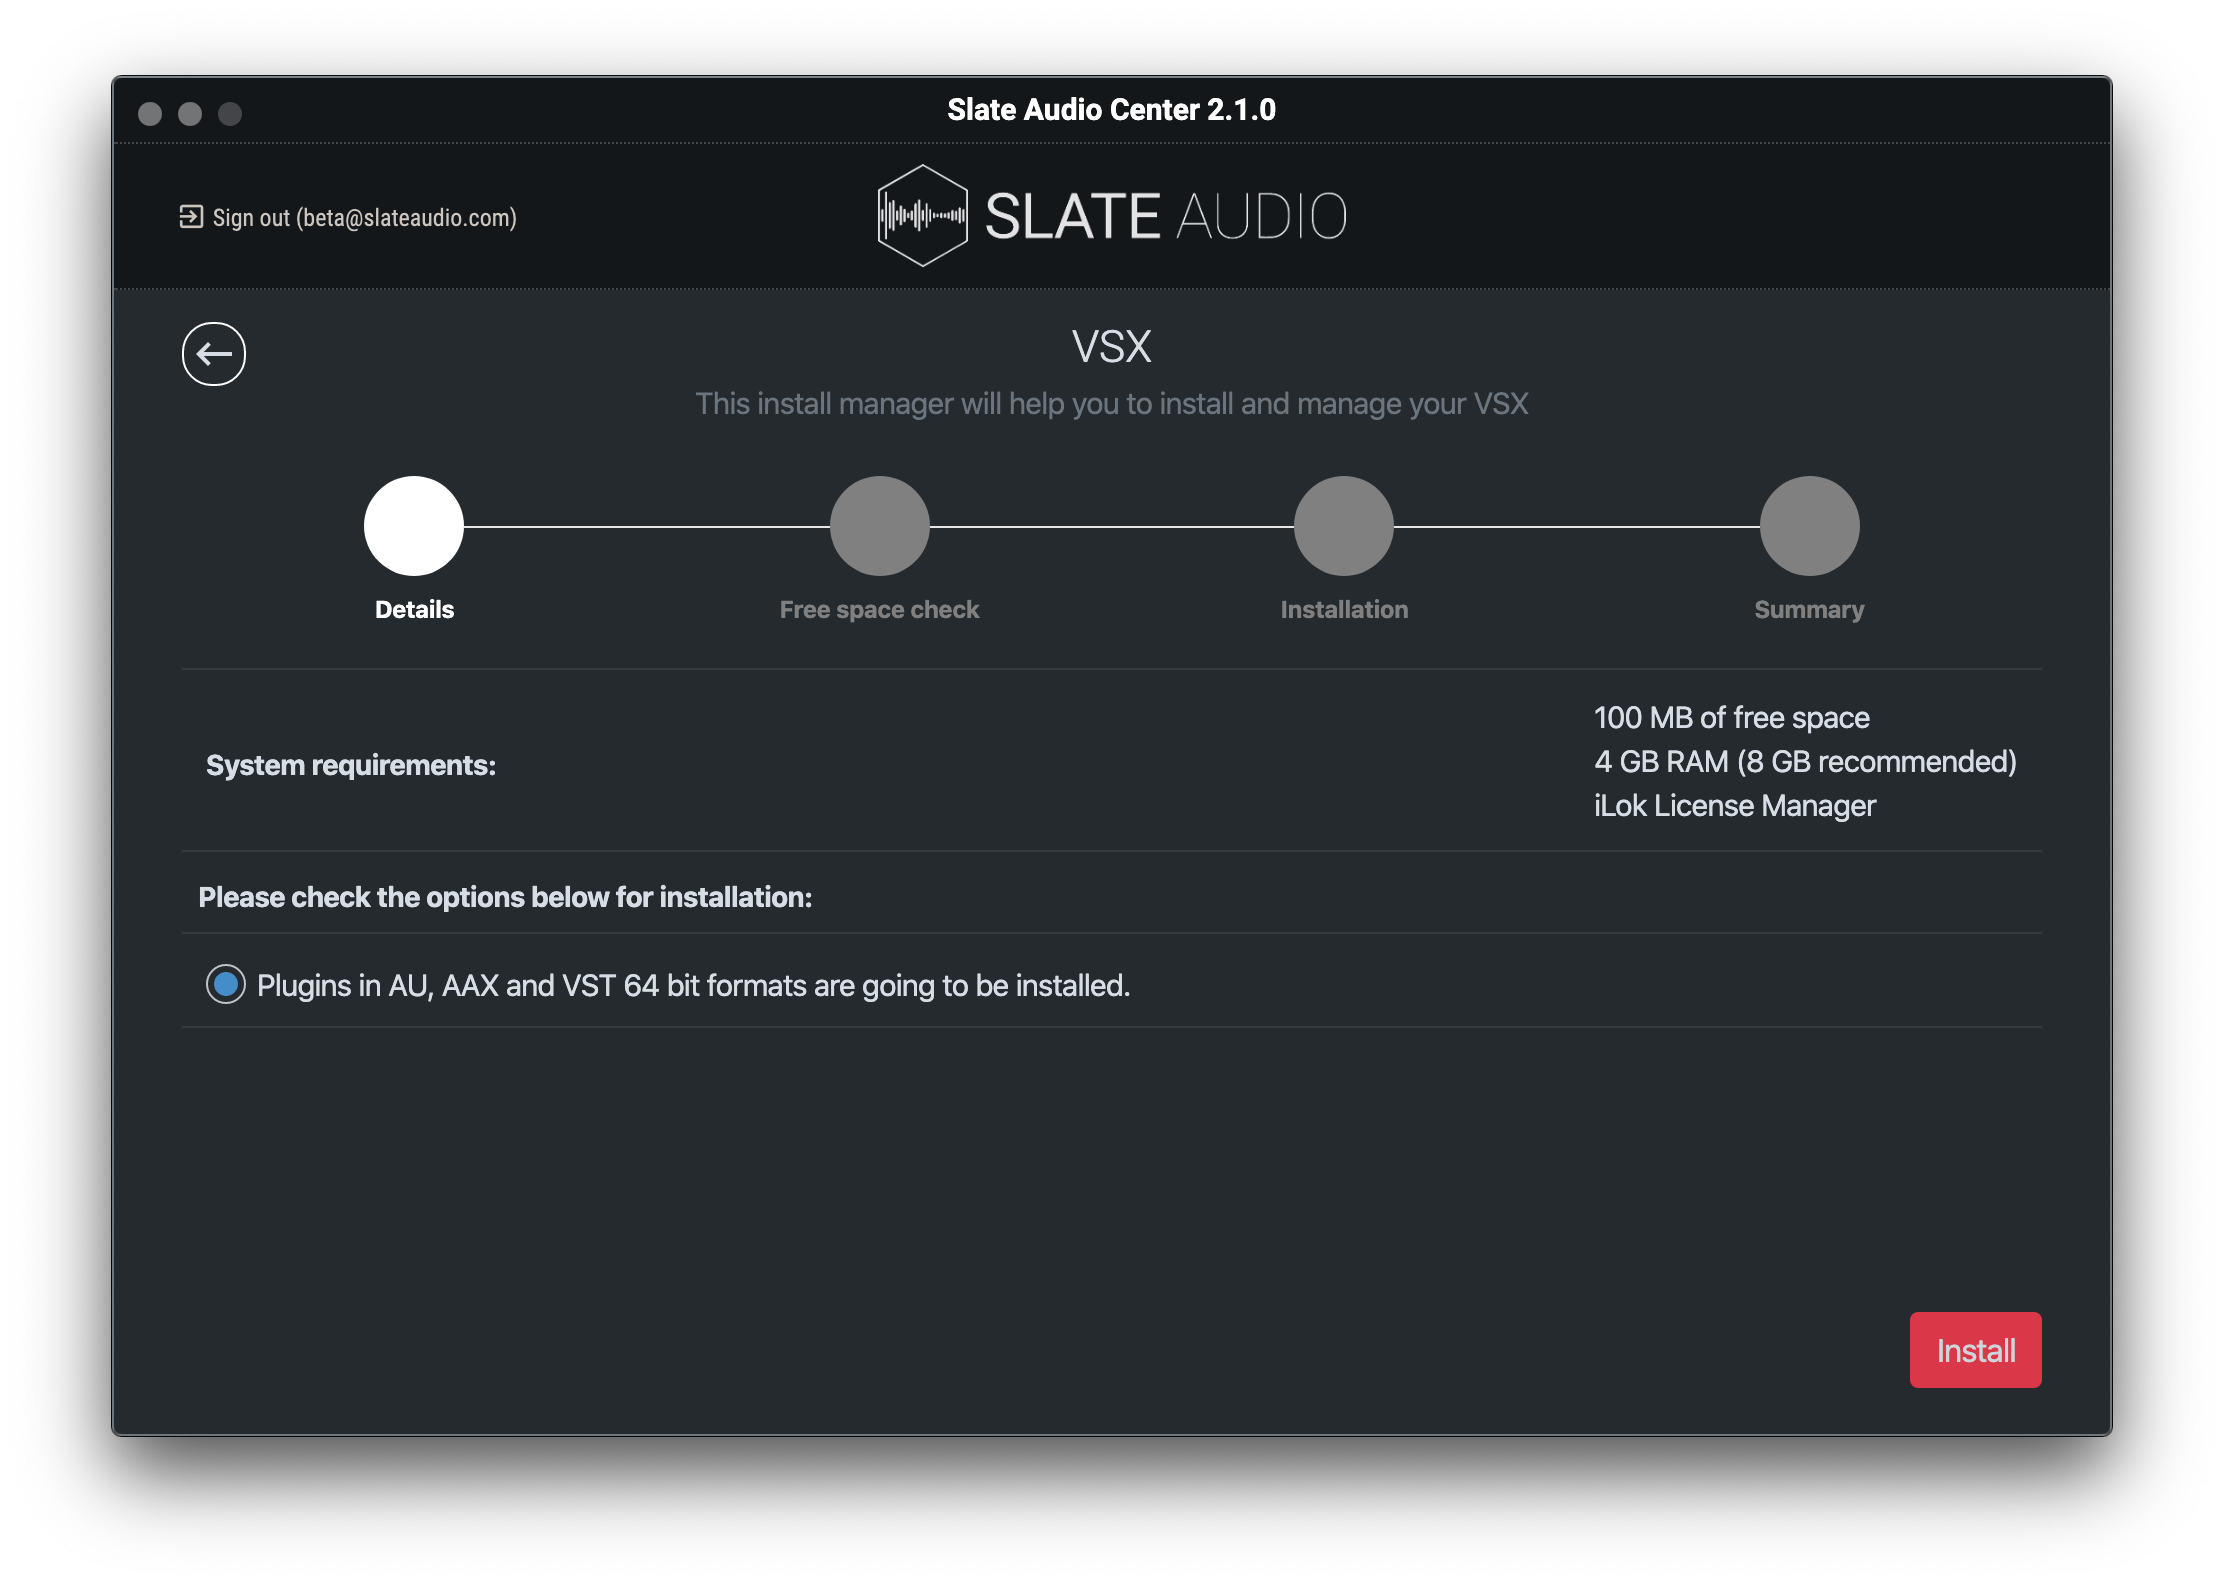
Follow prompts in the Slate Audio Center:
Step 4:
Launch Ableton after installation has completed.
Step 5 (Mac only):
AU or VST? Go to Ableton Preferences and decide which plugin format(s) you'd like to use. Please view the following article for more information: https://help.ableton.com/hc/en-us/articles/209068929-Using-AU-and-VST-plug-ins-on-Mac
IMPORTANT: If you are planning on sharing your projects with Windows users, it is important to only use the VST plugin format as AU is not supported on the macOS.
Step 5 (Windows Users Only):
Slate plugins are installed to "C:\Program Files\Vstplugins" by default. You will need to add this path to Ableton or install Slate plugins to your custom VST path.
• Click the "Options" drop-down menu and select Preferences.
• Under File Folder, make sure "Use VST Plug-In Custom Folder" is on.
• Make sure C:\Program Files\Vstplugins is selected as your VST Plug-In Custom Folder
• Plugins should begin scanning in automatically.
Troubleshooting:
If you experience any issues, please view the following troubleshooting article: How To Rescan Your Plugins in Ableton Live

Comments
0 comments
Article is closed for comments.